Chicken Pathia

Today’s recipe is one of those ones that brings back happy memories.  in the long-distant days of my late teens/early 20s, when I didn’t cook as much and the variety of available ingredients wasn’t great, this was my go-to dish in the local Indian restaurant, possibly because it contains one of my all time favourite flavours – tamarind.  Tamarind paste is pretty easily available in most supermarkets, but if you’re struggling to get it, don’t worry, you can add a tablespoon of balsamic vinegar instead.

I’d love to hear from you if you try my this recipe out or have any questions about it.

Happy cooking!

Chicken Pathia
Print Recipe
A hot, sweet and sour, tomato-based curry
Servings Prep Time
4 10 minutes
Cook Time
30 - 40 minutes
Servings Prep Time
4 10 minutes
Cook Time
30 - 40 minutes
Chicken Pathia
Print Recipe
A hot, sweet and sour, tomato-based curry
Servings Prep Time
4 10 minutes
Cook Time
30 - 40 minutes
Servings Prep Time
4 10 minutes
Cook Time
30 - 40 minutes
Ingredients
  • 2 tbsp vegetable oil (or ghee)
  • 2 cloves garlic (grated or crushed)
  • 1 piece ginger (around the same size as the garlic) (grated)
  • 2 onions (blitzed to a pulp in the processer or grated)
  • 1 tsp salt
  • 4 chillies (crushed or 1- 2 tsp chilli powder)
  • 0.5 tsp turmeric
  • 1 tsp ground cumin
  • 1 tsp ground coriander
  • 1 tsp tandoori masala (optional)
  • 600 grams chicken thigh or breast fillets (cut into chunks)
  • 1.5 - 2 tins chopped tomatoes or passata
  • 0.25 cup white wine or cider vinegar
  • 1 - 2 tsp tamarind paste
  • 2 tsp jaggery or brown sugar
  • 2 bay leaves
  • chilli powder (to taste)
To serve:
  • Rice, cauliflower rice, chapattis, paratha or naan
  • chopped coriander
  • lime wedges
Servings:
Instructions
  1. Heat the oil in a large pan, saute the garlic and ginger for a minute, then add the onion and salt. Saute for a further 10 minutes.
  2. Add the chillies, turmeric, ground cumin, ground coriander, and tandoori masala. Stir to combine into a paste.
  3. Add the chicken and stir for a few minutes until it becomes coated with the paste and starts to cook (don't worry if it's not cooked through at this stage, as the chunks will cook whilst the sauce is simmering later).
  4. Add the tomatoes, vinegar, tamarind paste, jaggery/sugar and bay leaves and simmer for 20 - 30 minutes, until the sauce starts to thicken and reduce. After about 10 minutes, taste the sauce and add extra chilli powder if you feel it needs more of a kick.
  5. Serve over rice or with flatbreads. Garnish with chopped coriander and lime wedges.
Recipe Notes
  • If you don't have jaggery or brown sugar, don't worry - normal granulated sugar will do.
  • Feel free to make this one in advance - if anything it taste even better the next day.
Powered byWP Ultimate Recipe

Hot, Sweet & Sour Chicken Ramen

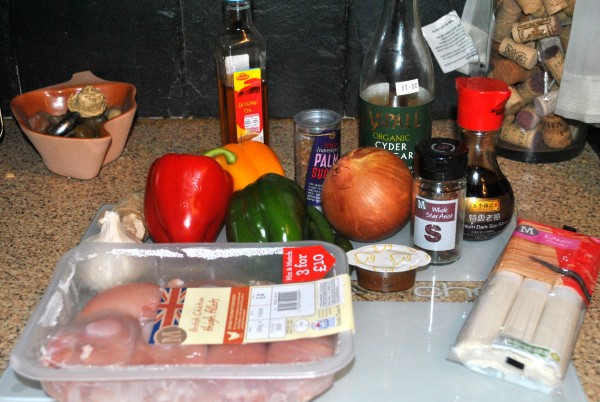
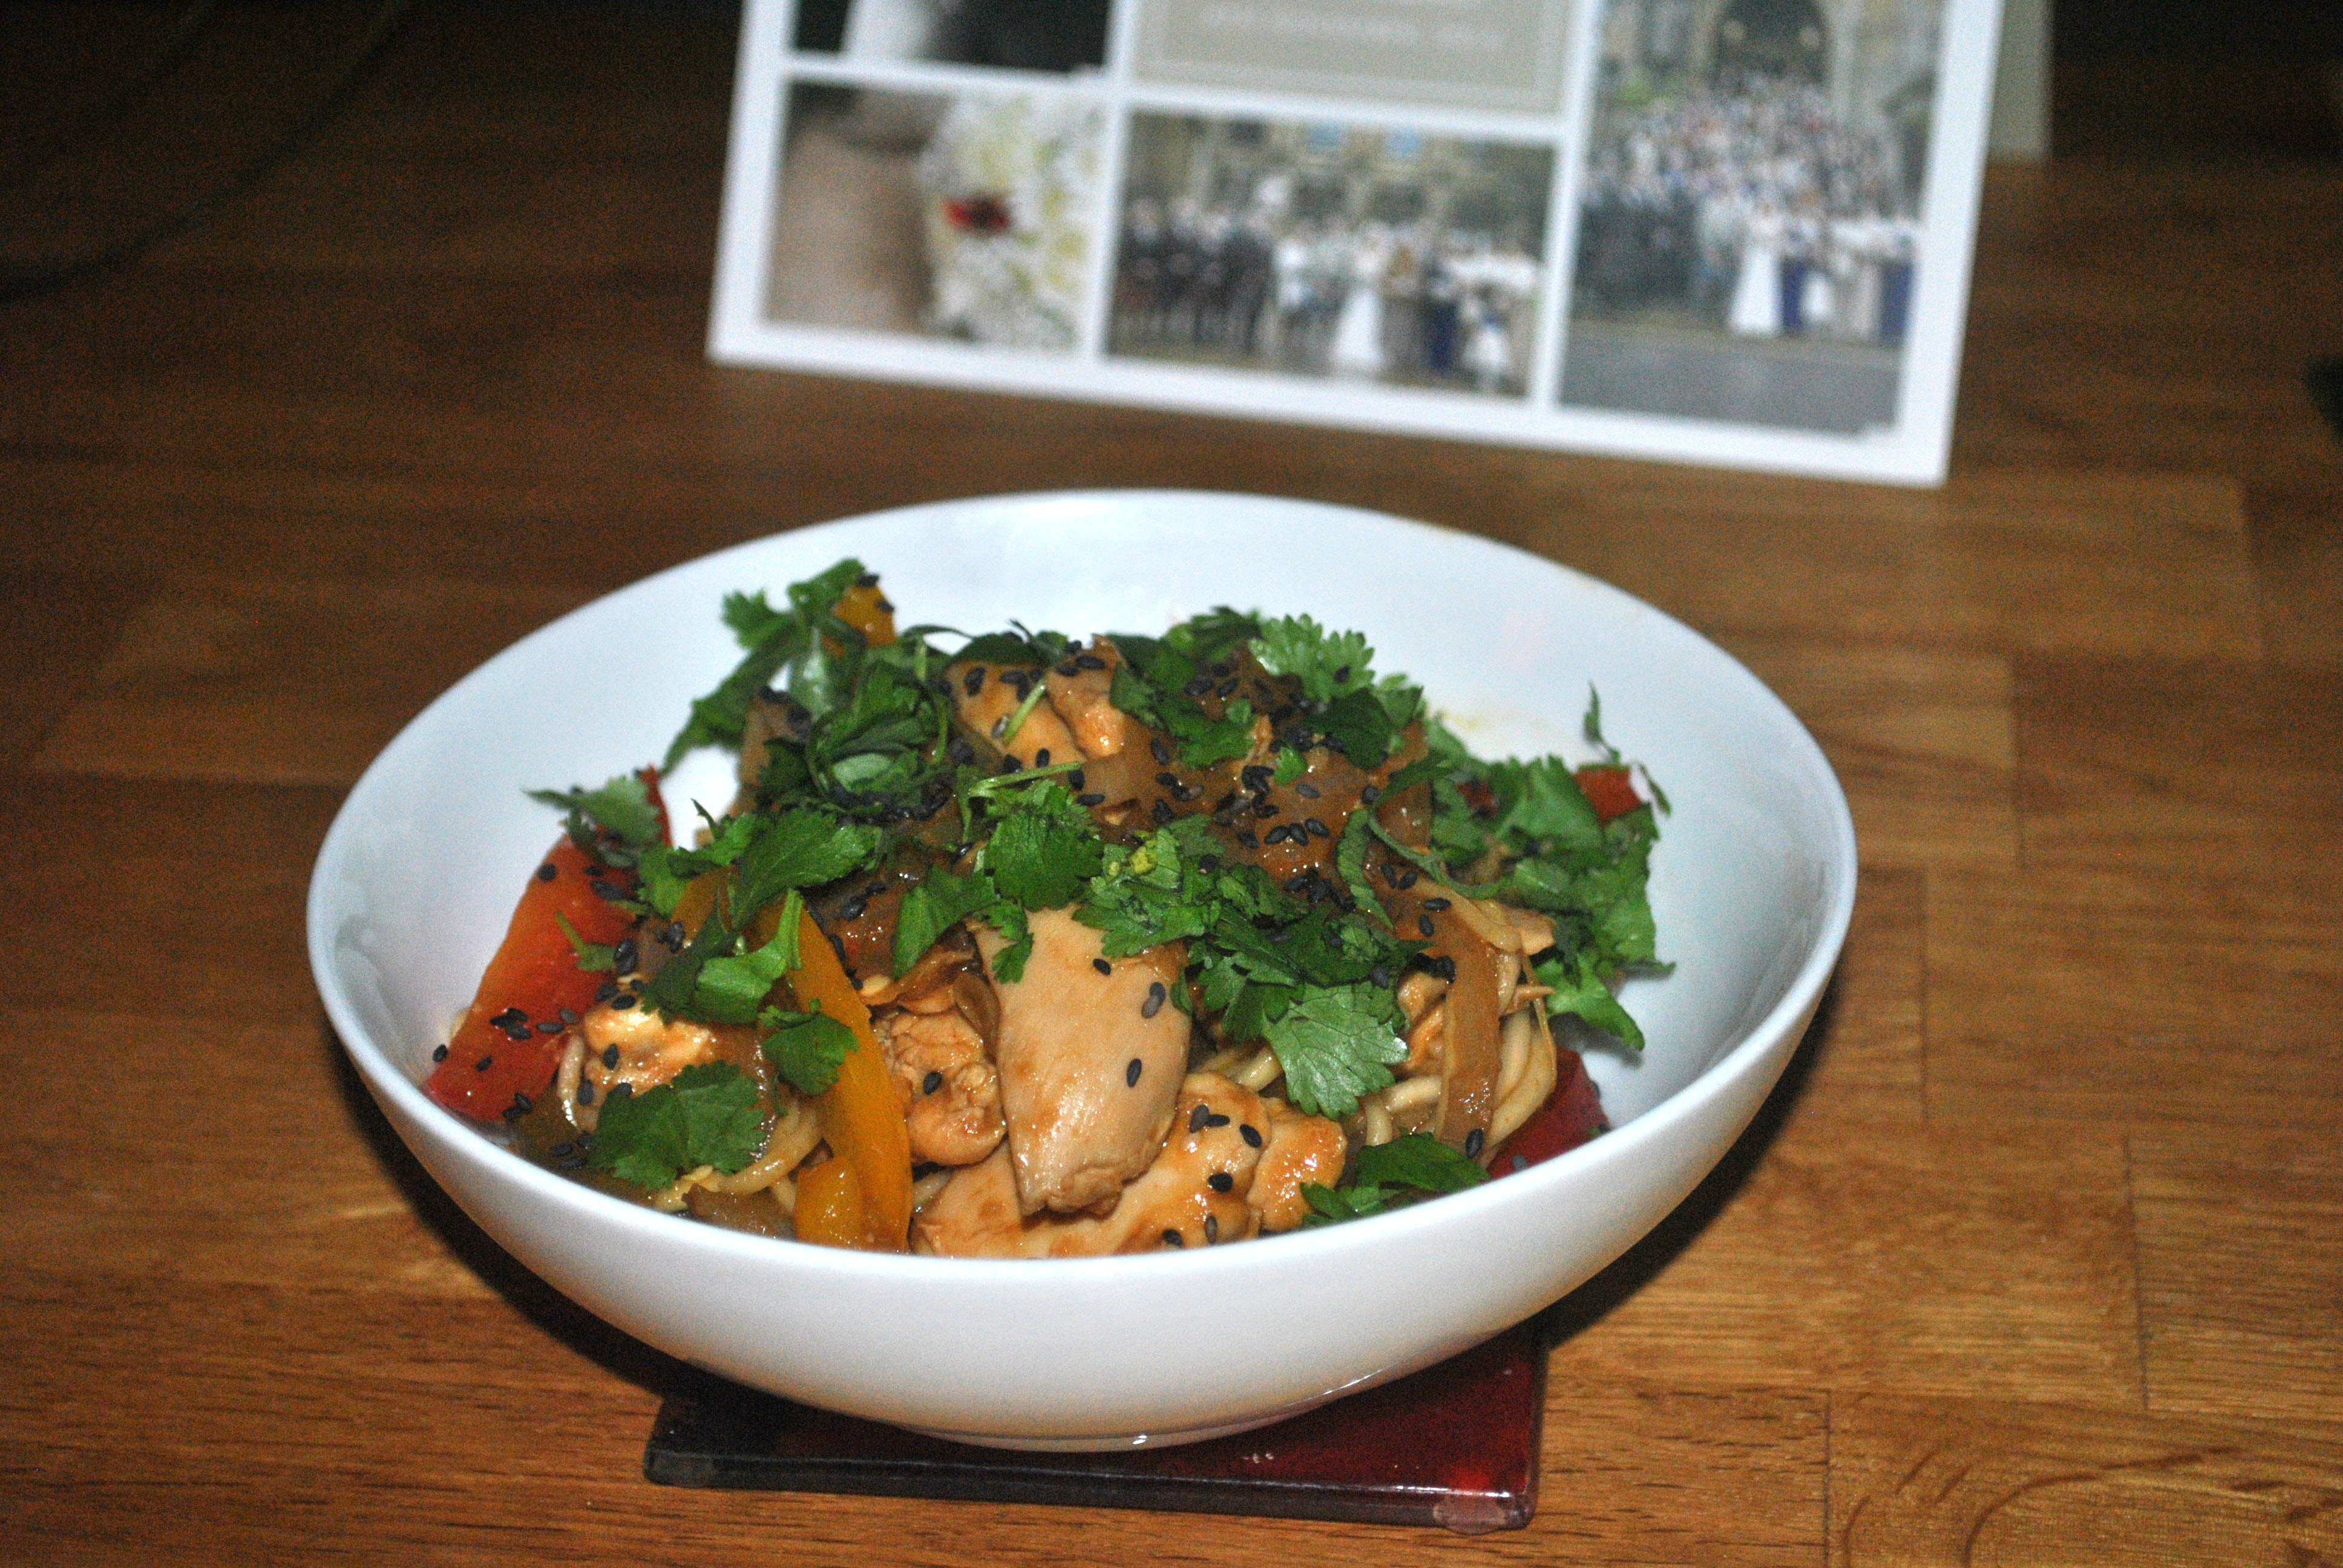
As it still feels like spring is a long way off, I decided another winter warmer was in order for the recipe this week.  This one is heading to the East for influence, but uses ingredients which you can easily find in your local supermarket.  There is also the added bonus that it’s all cooked in one pan, so there’s less washing up to do.

Hot, Sweet & Sour Chicken Ramen
Print Recipe
A quick and easy noodle stirfry.
Servings Prep Time
4 10 minutes
Cook Time
20 minutes
Servings Prep Time
4 10 minutes
Cook Time
20 minutes
Hot, Sweet & Sour Chicken Ramen
Print Recipe
A quick and easy noodle stirfry.
Servings Prep Time
4 10 minutes
Cook Time
20 minutes
Servings Prep Time
4 10 minutes
Cook Time
20 minutes
Ingredients
  • 200 grams ramen noodles (or any other noodles)
  • 600 grams chicken breast or thigh fillets (cut into strips)
  • 2 cloves garlic (crushed)
  • 1 piece fresh ginger (approx 8x2cm) (grated or pureed)
  • 1 tbsp sesame or vegetable oil
  • 3 peppers (sliced)
  • 1 onion (sliced)
  • 4 green chillies (sliced)
  • 1 chicken stockpot or cube
  • 2 tsp palm sugar (or granulated sugar)
  • 1/4 cup white wine or cider vinegar
  • 2 whole star anise
  • 1 tbsp dark soy sauce
  • sriracha or other hot sauce (optional)
To serve
  • chopped corriander
  • sesame seeds
Servings:
Instructions
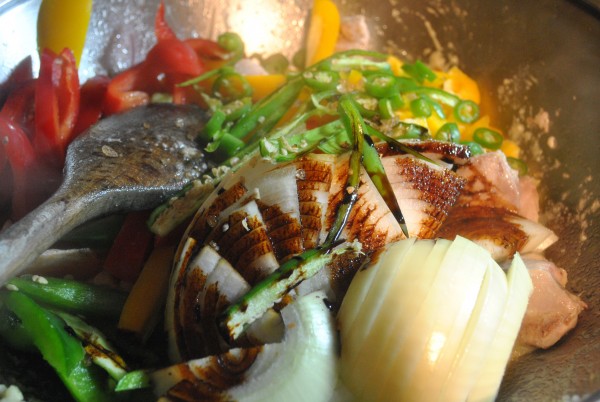
  1. Bring a wok (or large pan) of slightly salted water to the boil. Once boiling cook the noodles per the packet instructions, drain, rinse with cold water and set aside for later. Whilst the noodles are cooking, cut the chicken into strips and the veg into thin slices.
  2. Rinse the wok, allow to dry on the stove. Once dry, heat the oil and stir fry the chicken for 5 minutes. Add the ginger and garlic and stir until the chicken is coated.
  3. Add the veg and other ingredients (with the exception of the sriracha), along with 100ml of water. Stir to combine and simmer very gently for 10 minutes. Taste the sauce and add some sriracha if you want a bit more heat. Remove the star anise.
  4. Add the noodles you cooked earlier, stir together and simmer gently for a further 3-5 minutes. {Don't panic if it looks like mine has reduced drastically. I put half the meat, veg and sauce mix into a bowl, as I was only cooking for 2).
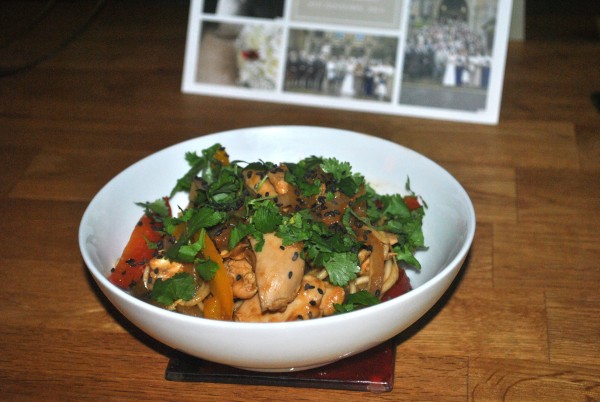
  5. Serve in bowls, garnished with roughly chopped coriander and sesame seeds.
Recipe Notes
  • If you have one, a wok is perfect for cooking this dish.
  • If you don't have fresh ginger, use 1tsp of lazy or ground ginger.
Powered byWP Ultimate Recipe

Healthy Huevos Rancheros

A taste of Mexico tonight – a healthy version of huevos rancheros.  Huevos Rancheros is one of my favourite quick meals.  Traditionally eaten for breakfast, it’s one of those ones I could eat any time of the day, and one of my go-tos when I’m late getting home.  Sadly the fried corn tortilla in the traditional version makes it something which isn’t particularly healthy to eat regularly.  Whilst I still enjoy the real thing as an occasional brunch, I can eat this version whenever I want without any guilt pangs; if anything it makes me feel positively virtuous.

Healthy Huevos Rancheros
Print Recipe
A healthy version of a traditional Mexican breakfast
Servings Prep Time
1 as a main meal (2 as breakfast) 5 minutes
Cook Time
10 minutes
Servings Prep Time
1 as a main meal (2 as breakfast) 5 minutes
Cook Time
10 minutes
Healthy Huevos Rancheros
Print Recipe
A healthy version of a traditional Mexican breakfast
Servings Prep Time
1 as a main meal (2 as breakfast) 5 minutes
Cook Time
10 minutes
Servings Prep Time
1 as a main meal (2 as breakfast) 5 minutes
Cook Time
10 minutes
Ingredients
  • 1 tsp olive oil
  • 2 cloves garlic (crushed or grated)
  • 250 grams tomatoes (chopped)
  • 2 tsp tarragon (dried or fresh)
  • 1 tsp chilli flakes (or half a teaspoon chilli powder)
  • dash balsamic vinegar
  • 2 eggs
  • 1 avocado (sliced)
  • grated cheese
Servings: as a main meal (2 as breakfast)
Instructions
  1. Add the oil to a large frying pan or wok and warm over a medium heat. Once warm, add the garlic and saute until you can smell it (about 30 seconds).
  2. Add the chopped tomatoes, chilli, vinegar and a pinch of salt and cook over a medium heat for 10 minutes or so until the tomatoes start to go into a thick sauce. have a quick taste to make sure you have enough chilli for your tastes.
  3. Whilst the sauce is cooking, poach your eggs
  4. Just before serving, stir the tarragon through the tomato sauce
  5. Arrange the sliced avocado on a plate, top with the sauce and the poached eggs. Grate a little cheese over the top and enjoy.
Recipe Notes

I prefer baby tomatoes as they're quick to chop (i just half them) and I like the taste, but you can use any type, or even chopped, tinned ones.

I find my wok is ideal for making the tomato sauce.

The traditional version of huevos rancheros has fried eggs, as well as a fried tortilla - feel free to use them in this version instead of poached should you wish.

Normally I like to offer alternatives for herbs and spices, but in this case only tarragon will do.  Luckily it's readily available - I always keep a jar in my spice cupboard.

As always, I'd love to know how you get on if you give this recipe a try.

Enjoy

Powered byWP Ultimate Recipe

Spicy Sausage Pasta

I knew I would be late home tonight, so needed something for dinner that was quick, easy and tasty.  This one definitely ticks all those boxes.  In fact, it’s so quick that the sauce will be ready by the time your pasta has cooked.

Spicy Sausage Pasta
Print Recipe
A delicious, quick, creamy spicy sausage pasta.
Servings Prep Time
4-6 5 minutes
Cook Time
15 minutes
Servings Prep Time
4-6 5 minutes
Cook Time
15 minutes
Spicy Sausage Pasta
Print Recipe
A delicious, quick, creamy spicy sausage pasta.
Servings Prep Time
4-6 5 minutes
Cook Time
15 minutes
Servings Prep Time
4-6 5 minutes
Cook Time
15 minutes
Ingredients
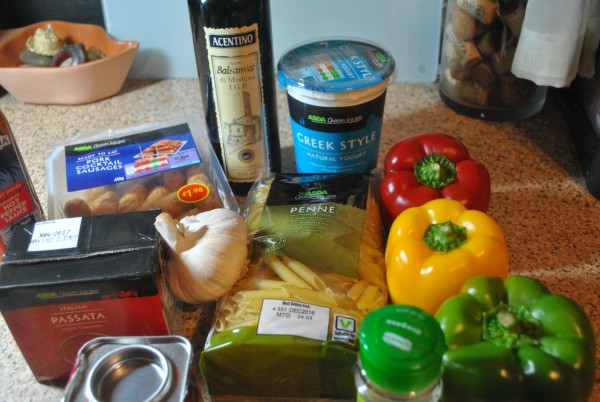
  • 200-250 grams penne (approx 2 cups)
  • 200 grams cooked cocktail sausages (approx 4 sausages per person)
  • 3 bell peppers (any colour)
  • 500 grams passata
  • 2 cloves garlic (crushed or grated)
  • 1 tsp smoked paprika
  • 1 tsp oregano
  • 2-4 tbsp Greek yoghurt (full fat)
  • balsamic vinegar
  • hot pepper sauce (Tabasco, Encona etc)
Servings:
Instructions
  1. Fill a large pan with water and a pinch of salt, and put on the hob to boil. Whilst water is heating, chop the peppers and sausages into chunky pieces and crush the garlic.
  2. Heat a little olive oil (or sunflower oil) to a pan, add the garlic and allow to cook for a minute or so. Add the peppers and half a teaspoon of sugar and cook for 10 minutes. During this time your pasta water should be boiling, so add the pasta, stir and leave to simmer. Add the sausages, oregano, smoked paprika, a dash of balsamic vinegar, and hot sauce to taste (it's always better to err on the side of caution, as you can always add more once you've tasted the sauce). Stir to combine and add the passata. Stir again and allow to simmer until the pasta has cooked. Taste to check the hot sauce amount is okay. Once the pasta has cooked, remove pan from the heat, drain pasta, and return to the pan. Stir the sauce through the pasta and add a good dollop of Greek yoghurt.
  3. Serve in bowls, topped with parmesan and a good grind of black pepper. If you're extra hungry, this pasta dish is delicious with garlic bread.
Recipe Notes

I hope you try (and enjoy) this recipe.  If you do, I'd love to hear from you.

Happy cooking!

Powered byWP Ultimate Recipe

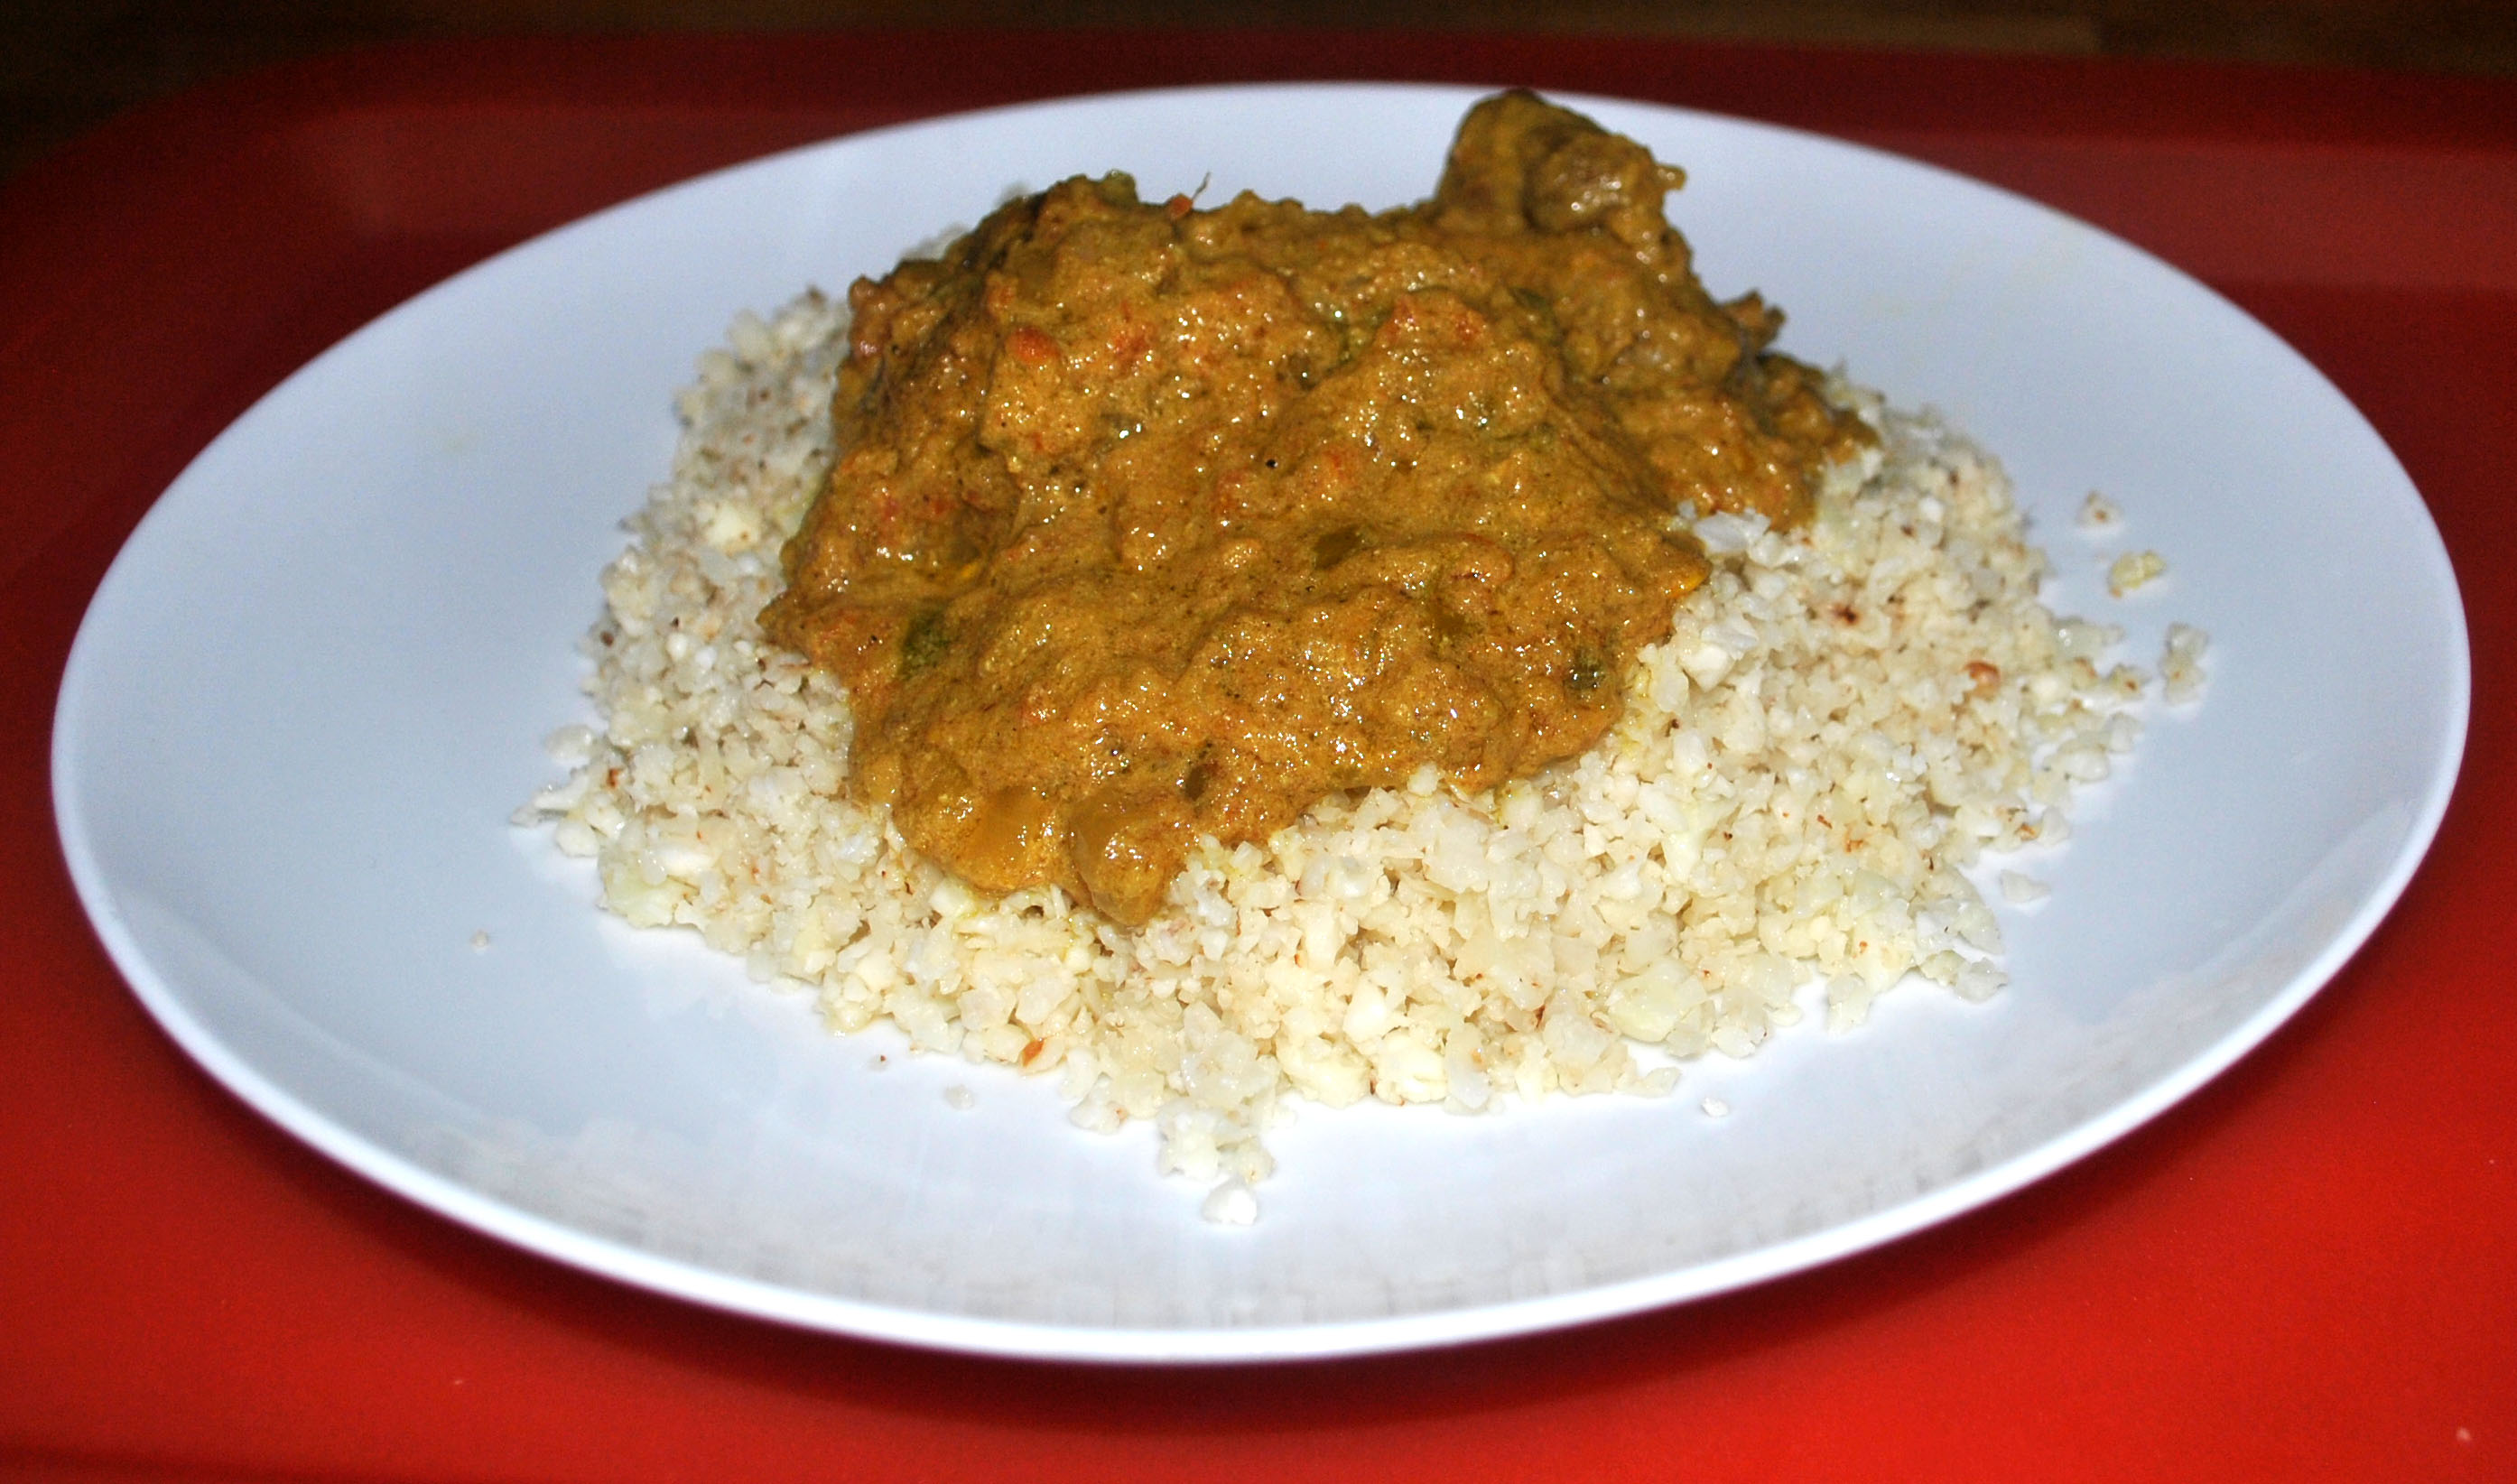
Slow Cooked Lamb Curry

Welcome to my regular Thursday recipe.  If I had to pick one type of food that was my favourite to cook and eat, even if it’s not the most photogenic, I’d probably go for Indian.  Yes, I love doing elaborate dinner parties, but not every week, and lately I’ve been really into Thai but there’s something really satisfying about a good curry.  As Thursday is traditionally curry night in our house, I thought I’d share this slow cooked lamb curry with you.

I know the array of spices needed for a lot of dishes can be quite daunting, and expensive if you don’t already have a large stock of spices, so when I was making this one up tonight, I limited the spices I used to few in number and ensured they were all easily obtained from any supermarket.  I’ve used garam masala, as this is a spice mixture; you won’t get the same complexity of flavour you do by toasting and grinding your own spices but it’s a great staple to have in the cupboard.

Slow Cooked Lamb Curry
Print Recipe
A slow cooked curry with cheap cuts of lamb, spices and yoghurt.
Servings
4
Servings
4
Slow Cooked Lamb Curry
Print Recipe
A slow cooked curry with cheap cuts of lamb, spices and yoghurt.
Servings
4
Servings
4
Ingredients
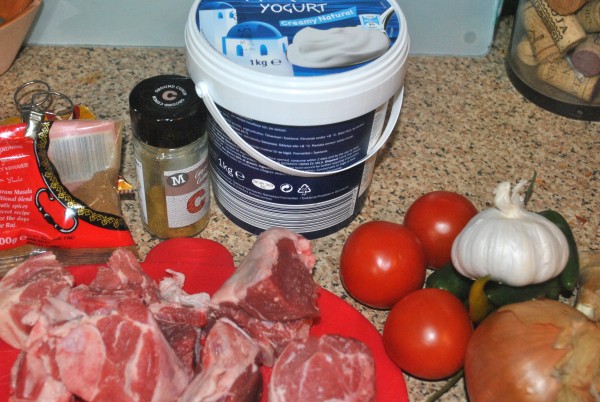
  • 700 grams lamb (stewing or another cheap cut, without bone or 1.2kg with bone)
  • 2 large onions (1 pureed or grated, one finely sliced)
  • 6 green chillies (sliced)
  • 1 head garlic (8-10 cloves) (grated, crushed or pureed)
  • 1 piece fresh ginger (approx 8x2cm) (grated or pureed)*
  • I tsp turmeric
  • 1 tsp ground cumin
  • 1 tsp salt
  • 1 tbsp sunflower oil
  • 1 tbsp butter
  • 1 cup Greek yoghurt (full fat)
  • 3 medium tomatoes (pureed or very finely chopped)
  • 1 tbsp garam masala
Servings:
Instructions
  1. Heat the oil and butter in a large, lidded pan** and and add the pureed (or grated onion). Gently cook for 5 minutes or so then add the sliced onion and cook until soft (approx 10 minutes). Add the garlic and ginger and cook for another couple of minutes)
  2. Add the turmeric, cumin and salt, stir, then add the lamb (it's fine to keep the lamb in large chunks, as the slow cooking will make it lovely and tender). Stir in the chillies, half the yoghurt, and half a cup of water.
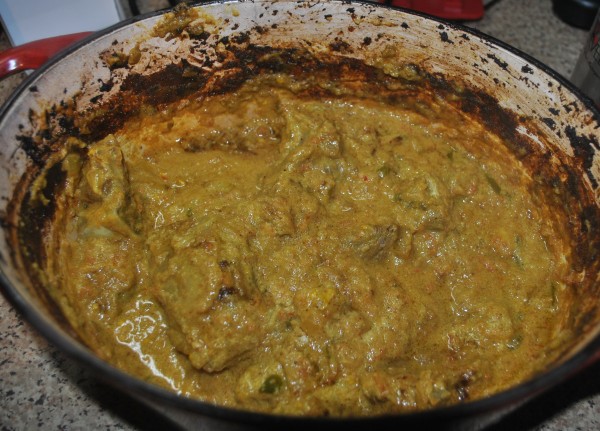
  3. Put the lid on your pan and, if it is ovenproof, transfer to the oven to cook at 140 degrees C for a couple of hours. If not cook on the hob at a low heat, for a similar time.
  4. Stir in the pureed or chopped tomatoes, garam masala, and the rest of the yoghurt and cook for another 15-30 minutes.
  5. Serve with rice ***
Recipe Notes

* If you don't have a small food processor or grinder and can't be bothered to grate ginger, pureed ginger is available in the spice aisle of your supermarket.  Grating plates are also a wonderful invention - I've used mine so many times since getting it a couple of years ago, even though I have a wet/dry spice grinder.

** If you don't have a large lidded pan, use tinfoil placed tightly around the top of whatever pan you're using.

*** This curry is also delicious with cauliflower "rice".

If you make this curry, I'd love to know how you got on with the recipe and if you enjoyed it.  I'd also love suggestions for any other recipe or types of food you'd like to see here.

Powered byWP Ultimate Recipe

Leek & Celeriac Soup

We were out for dinner with friends on Saturday, at the always wonderful Wedgwood the Restaurant and one of my friends ordered the leek starter.  We all commented that we loved leeks but didn’t eat them often for some reason.  With this conversation in my head, I thought leek would be an ideal ingredient for my new soup maker’s inaugural outing.  I ran to the shop on my way into work to pick up some leeks and grabbed a celeriac as well.  I love celeriac, especially done dauphinoise style (got to love things baked in cream!).

The soup was delicious.  Ideal food if you’re trying to drop a few winter pounds (pointing a big finger at myself).  Tonight I’m going to make some with roasted carrot.


Leek & Celeriac Soup
Print Recipe
Servings Prep Time
4 10 minutes
Cook Time
21-45 minutes
Servings Prep Time
4 10 minutes
Cook Time
21-45 minutes
Leek & Celeriac Soup
Print Recipe
Servings Prep Time
4 10 minutes
Cook Time
21-45 minutes
Servings Prep Time
4 10 minutes
Cook Time
21-45 minutes
Ingredients
  • 2 large leeks
  • 1/2 medium celeriac
  • 1 large onion
  • 1 litre vegetable stock (or 2 stock cubes and 1 litre of water)
Servings:
Instructions
  1. Chop the vegetables into bite-sized pieces, keeping a little of the green part of one leek back for garnish if you so desire, and put in the soup maker (or large, lidded pan), add the stock (or cubes &water).
  2. If using a soup maker, select smooth option, and switch on. Your soup will be ready in just over 20 minutes ---------------------------------------------------------------------------------------------------------------- If making it the traditional way, simmer for 40 minutes or so until vegetables are soft, then blend with a stick blender. ---------------------------------------------------------------------------------------------------------------- Cut the green section of leek into thin strips, fry in a little butter and serve on top of the soup, along with a good grind of black pepper.
Recipe Notes

If you are using a jug blender instead of a stick blender, allow soup to cool a bit before blending, then reheat.

Powered byWP Ultimate Recipe

Product Review – Morphy Richards Soup Maker

I had a department store gift card which expired today.  I had sort of forgotten about it over Christmas, but suddenly remembered at the weekend and didn’t have a clue what to buy with it.  I neither needed nor wanted more clothes, shoes, makeup, perfume etc, so opted for them old fallback – something for the kitchen.  We have plenty of crockery, glassware, pans, and utensils, plus they’re a bit boring to buy yourself as a present, so I decided to look at some gadgets.

I remembered one of my friends had recently bought a soup maker, so asked her opinion on it; after hearing the good things she said, I thought why not – I might like it, it might come in useful and if not I can give it to my mum or sister.

I bought the Morphy Richards Soup Maker


Morphy Richards Soup Maker

I used it last night and absolutely loved it. I was late getting home, so it was 7:15 before I was even able to start prepping dinner.  I quickly chopped my ingredients, bunged them in with some water, put the setting to smooth and let it do it’s thing whilst I had a shower.  At 8pm we were sitting down to a lovely bowl of fresh soup.  For speed and ease it really is unbeatable – no stirring to stop the soup sticking and no having to decant from my enameled cast iron pots in order to use my stick blender.

It made enough soup for 4 main course portions, would easily do 6-8 for a starter/soup course, so will be ideal for dinner parties – one less thing to have to keep an eye on, which is always a bonus when you’re doing multiple courses.

As it made me so happy, I have written up a little bonus quick, cheap and easy recipe for Leek and Celeriac Soup.


Disclaimer: this is not a sponsored post and has no affiliate links. Product was bought by me for use in my home

Homemade Burgers

Sometimes you just really fancy a nice juicy burger for dinner, but I don’t like to buy pre-made ones, as I really like to know what I’m eating, and ensure there are no hidden fats or fillers.  This burger recipe is quick, doesn’t need any equipment, other than a burger press, should you wish to use one (in an ideal world, I’d mince the beef myself every time, but it’s Thursday night, I’m tired, getting over a flu bug thing, and I really don’t have the time or inclination tonight).

So, why not try making your own burgers next time.  They will only take 10 minutes longer to make than shop-bought ones, but are so much tastier.  Another thing you may notice is that there isn’t a lot of shrinkage when you cook them, so your quarter pounders looks as big as they did before cooking.

Enjoy

Homemade Burgers
Print Recipe
Servings Prep Time
4 large burgers 10 minutes
Cook Time
12-16 minutes
Servings Prep Time
4 large burgers 10 minutes
Cook Time
12-16 minutes
Homemade Burgers
Print Recipe
Servings Prep Time
4 large burgers 10 minutes
Cook Time
12-16 minutes
Servings Prep Time
4 large burgers 10 minutes
Cook Time
12-16 minutes
Ingredients
  • 500 g lean minced (ground) beef (1lb)
  • 1 egg (beaten)
  • 2 cloves garlic (minced or crushed)
  • 1 tbsp polenta or fine semolina
  • 1 tsp salt
  • 0.5 tsp ground black pepper
  • 0.5 tsp mustard powder
  • 0.5 tsp smoked paprika
Servings: large burgers
Instructions
  1. Put all the ingredients in a bowl and mix together by hand.
  2. Divide mixture into 4 and, using a burger press or by hand, make into burger patties.
  3. Shallow fry in a little sunflower oil for 6-8 minutes on each side.
  4. Serve on a lightly toasted bun with salad, relish, cheese, and any other garnish of your choice. I served homemade oven chips and corn cobs as an accompaniment.
Recipe Notes

If you are serving the burger plain, you can up the seasoning a bit and add some herbs.  I always err on the side of caution if I'm topping with cheese and/or bacon, as they are both very salty.

Powered byWP Ultimate Recipe

Seville Orange Marmalade

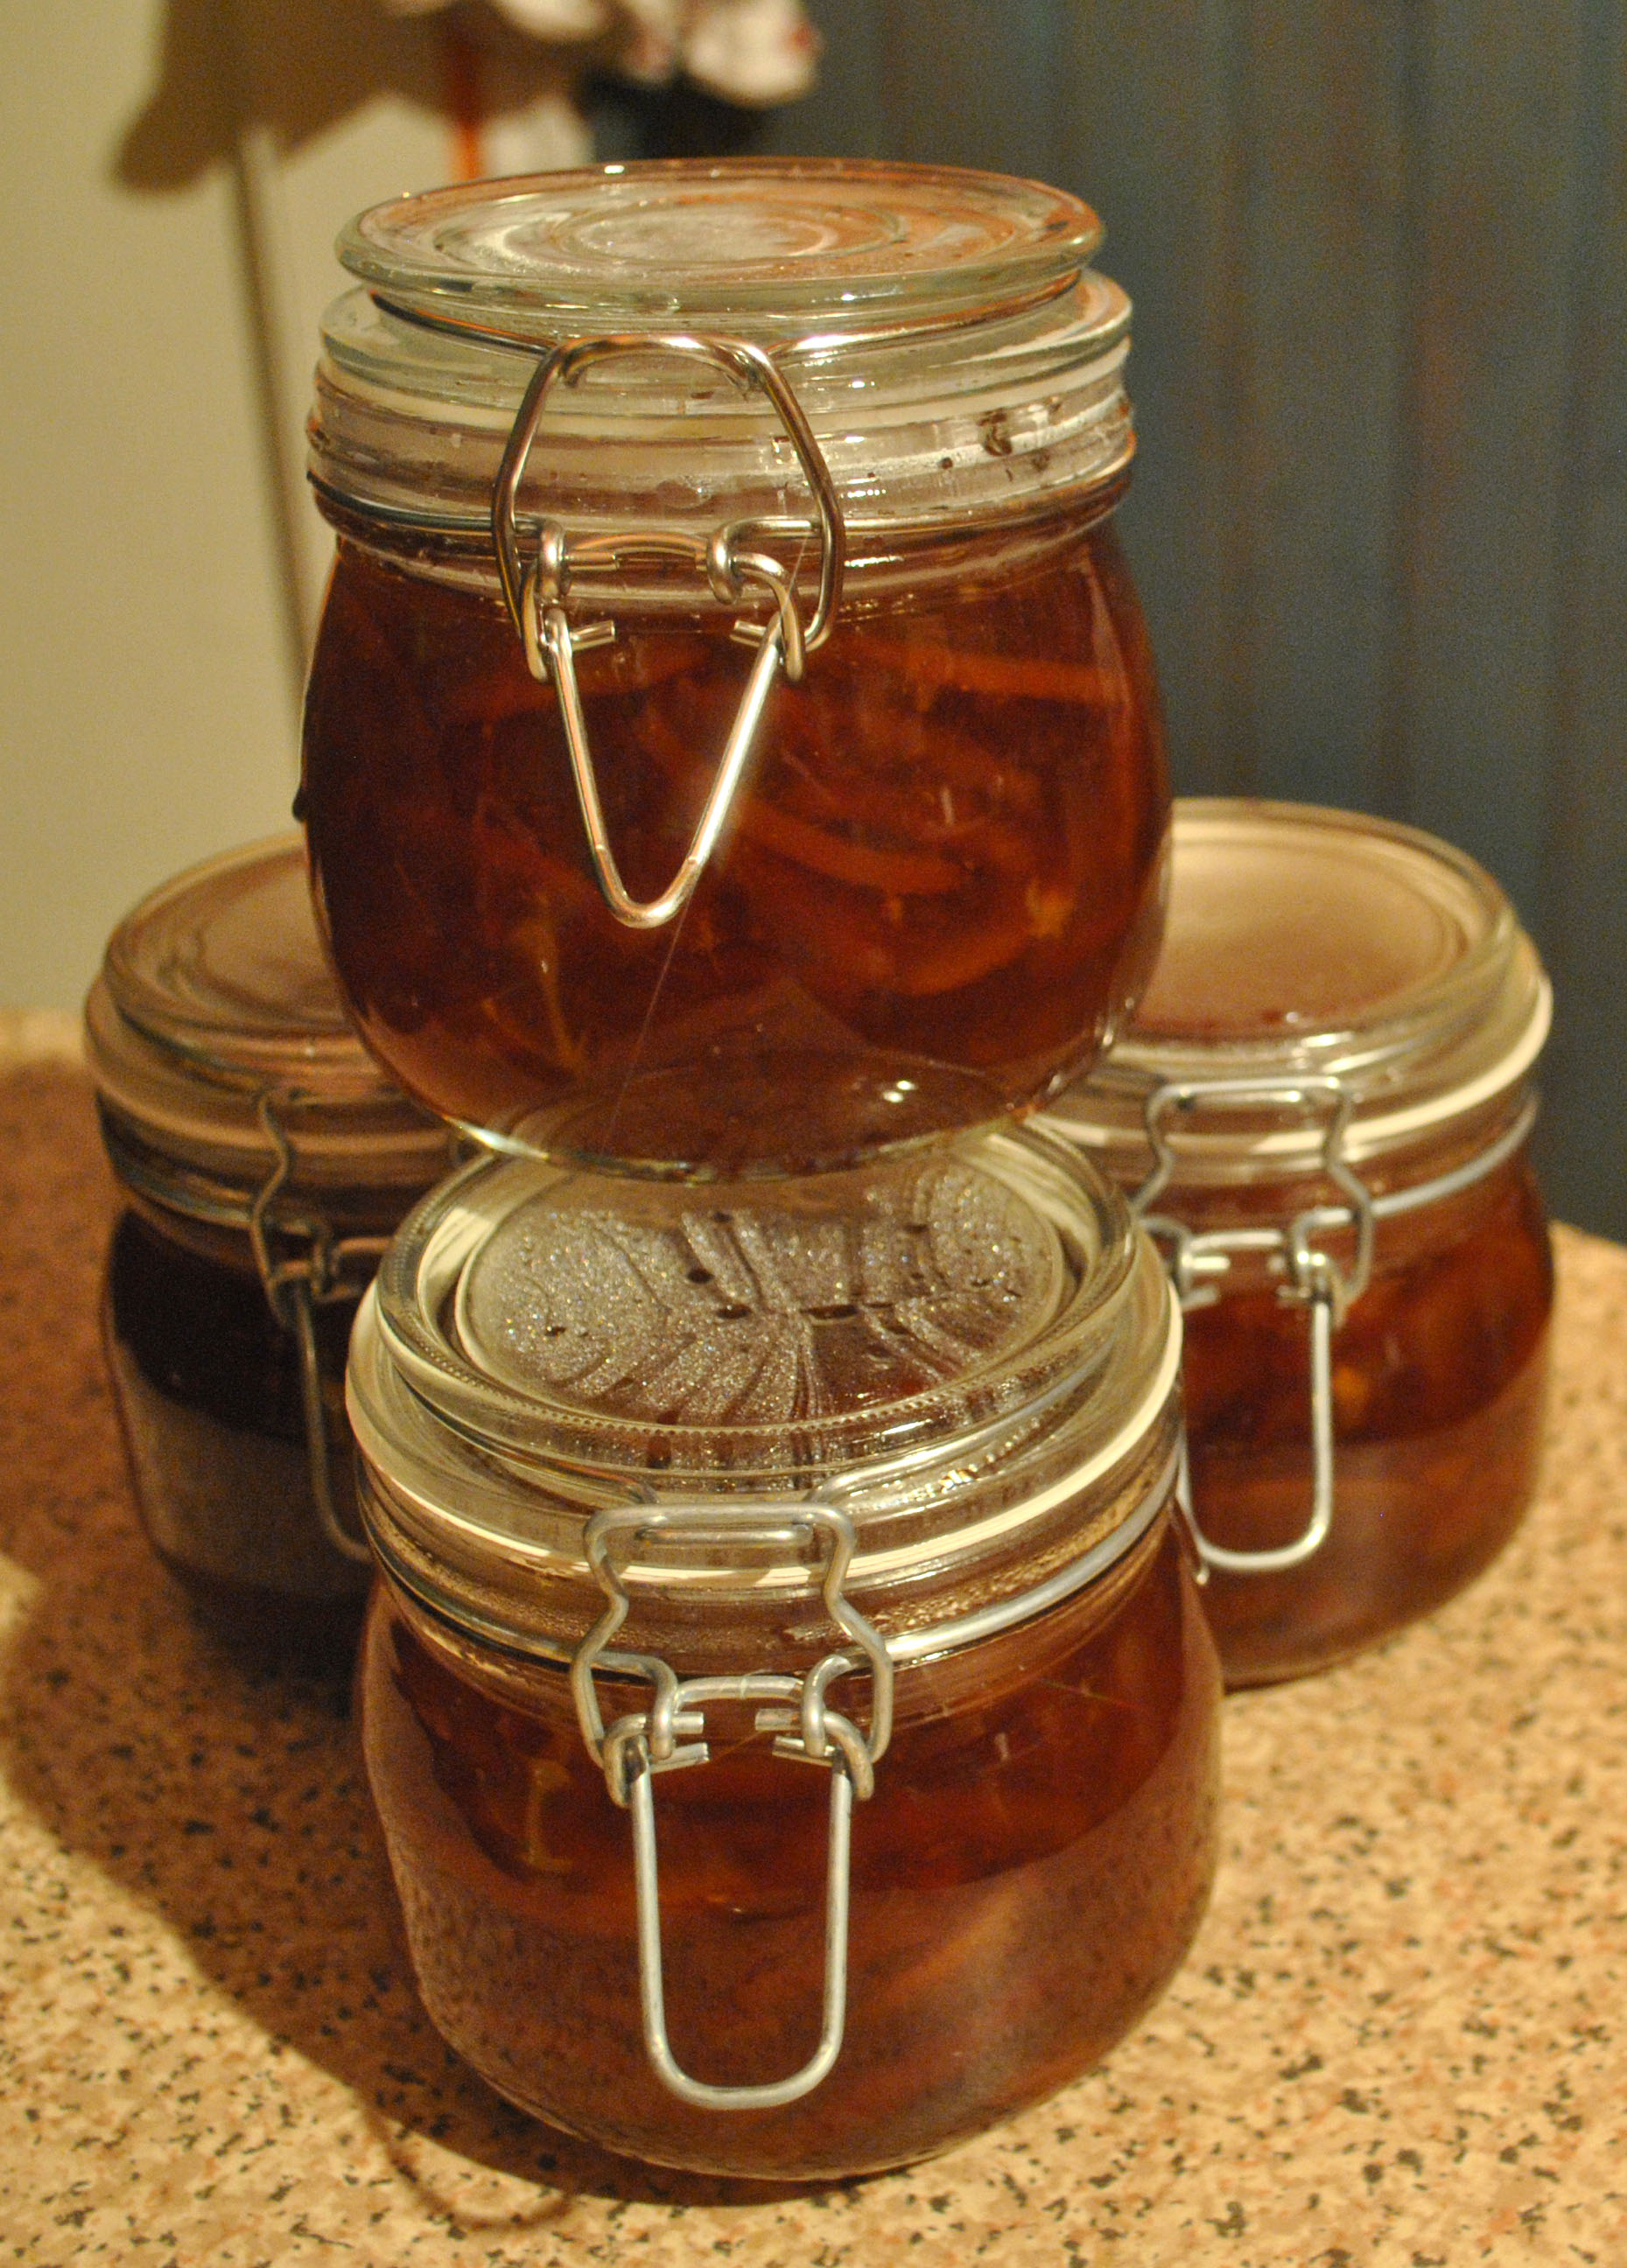
Two of my favourite things are the stunningly beautiful city of Seville and the cute little marmalade sandwich nibbling bear, Paddington. To celebrate my upcoming trip, Paddington’s first foray onto the silver screen, and the relaunch of my site, I’m going to share an extra recipe this week.

Gorgeously bitter Seville oranges are only available in January and February, so this is the ideal time to stock up on marmalade for the rest of the year.  The recipe is very easy – only 4 ingredients if you include the water.

Seville Orange Marmalade
Print Recipe
A deliciously bittersweet orange marmalade
Servings Prep Time
4 x 500ml jars 30 minutes (plus overnight soaking)
Cook Time Passive Time
2.5 - 3 hours 10 minutes
Servings Prep Time
4 x 500ml jars 30 minutes (plus overnight soaking)
Cook Time Passive Time
2.5 - 3 hours 10 minutes
Seville Orange Marmalade
Print Recipe

A deliciously bittersweet orange marmalade
Servings Prep Time
4 x 500ml jars 30 minutes (plus overnight soaking)
Cook Time Passive Time
2.5 - 3 hours 10 minutes
Servings Prep Time
4 x 500ml jars 30 minutes (plus overnight soaking)
Cook Time Passive Time
2.5 - 3 hours 10 minutes
Ingredients
  • 1 kg Seville oranges (2 lbs)
  • 1.5 kg Demerara sugar (3 lbs)
  • 1 Lemon (juice only)
  • 2.5 l Water (10 cups)
Servings: x 500ml jars
Instructions
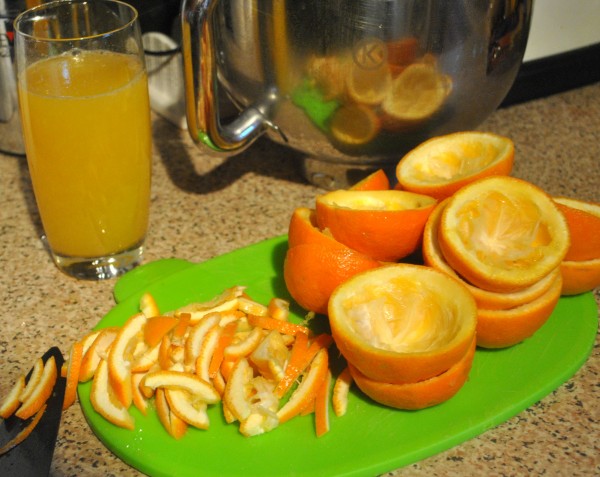
  1. Scrub the oranges, then juice them. Keep juice in a separate container. Slice the pith and peel to your desired thickness. Once all the peel has been sliced, put in a large container, cover with the juice and 2.5l of water, and leave overnight.
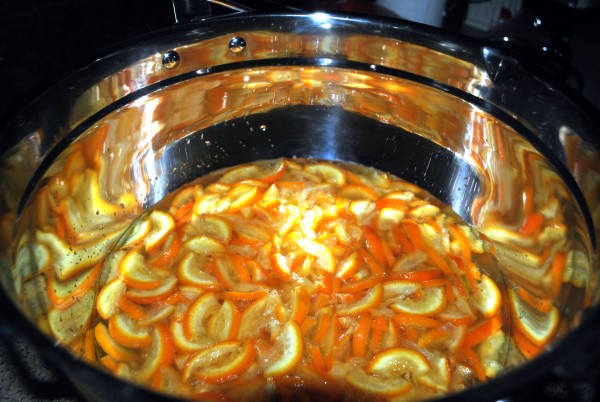
  2. Add all the orange peel, juice and water mixture to the largest pan you own (or can beg, borrow or steal - I'm lucky enough to have a maslin pan which is obviously perfect for marmalade making). Bring the mixture to a boil and simmer for a couple of hours until the peel has softened and the mixture reduced by around one third.
  3. Add the sugar and lemon juice, bring to the boil, stirring until the sugar has dissolved. Keep the mixture going at a rapid boil for another 20 minutes or so until it reaches setting point. This can be tested by putting some on a cold plate, and cooing for a couple of minutes - the marmalade should have some stability and sort of "wrinkle up" when you nudge it.
  4. Allow to cool for 10 minutes then pour into warm sterilised jars. This recipe should yield around 2 litres of marmalade and keep until the oranges are available again next year.
Recipe Notes
If you wish, once the marmalade is completely cold (I left mine until the following day), use kitchen roll to dry off any condensation on the inside of the lids.

If you are unable to get Seville oranges, any bitter oranges will do.

Powered byWP Ultimate Recipe