I’ve had a couple of weeks off blogging, as I’ve been battling to overcome a virus for a few months. I’ve shaken it off now though and getting back to full strength. We’re heading over to India again for this week’s recipe. Simple, tasty, and not too spicy – I give you Keema Matar, which is basically the Indian version of mince and tatties.
In a large pot, heat the oil and saute the onion until soft.
Add the garlic, ginger, chilli, cumin, and turmeric and cook for a couple of minutes.
Add the lamb mince and cook until nicely browned. Now add the salt, yoghurt, and peas, cover with a lid or foil, and cook for a further 10 minutes or so.
Stir in the lime juice and serve, topping each portion with chopped coriander and flat breads or rice.
Recipe Notes
I really hope you enjoy this one - it's become a bit of a favourite in this house. If you're a bit afraid of curry, or not a lover of anything too spicy, this would be perfect for you. Very aromatic and tasty, with just a bit of underlying spice.
I had my first attempt at making parathas to accompany this - they were so good, but it's also great with chapatis or naan. If you're aiming for a lower carb option, it is really nice with cauliflower 'rice' too. As I was typing this up, a thought popped into my head that this would also be tasty topped with potato as a shepherd's pie, or even as a baked potato topping.
..or spinach and chickpeas. This is one of my favourite tapas, and is basically what it says on the tin – a stew of spinach and chickpeas. I’ve used frozen spinach and tinned chickpeas for this recipe because they’re quick and this is a great meal to rustle up if you’re not quite sure what you’d like for dinner. Of course, you can use fresh spinach and/or dried chickpeas if you wish; just remember to soak the chickpeas then boil them (without salt) until they are tender and cooked.
4thick slicesciabatta bread(a day or 2 old is best. If you don't have ciabatta, use a couple of large, thick slices of any unseeded bread)
2tspground cumin
0.5tspchilli powder
4clovesgarlic(crushed)
ground black pepper
4tbspsherry vinegar
2tinschickpeas(drained)
1kgbagfrozen, chopped spinach
1tspsalt
smoked paprika
Servings: as a main meal (8-10 as a tapa)
Instructions
Heat the oil over a medium heat in a large pan or casserole pot. Whilst the oil is heating cut the bread into cubes. Add the bread cubes to the hot oil and shallow fry until they crisp up and turn golden.
Add the cumin, chilli, garlic and black pepper (I use 20-30 twists of the grinder) and heat for another minute or two until you start to smell the garlic.
Pop the bread and spice mix into a food processor, add the sherry vinegar and blitz into a thick paste. Return the mixture to the pan and add the drained chickpeas. Stir together to coat the chickpeas with the bread paste.
Add the frozen spinach and salt, cover and cook over a medium low heat, stirring every 5 or 10 minutes, for half an hour or so until the spinach is thawed and the stew and hot throughout.
Serve in a bowl with a drizzle of olive oil and sprinkling of smoked paprika. This is delicious with warmed slices of your leftover ciabatta with alioli spread on it.
Recipe Notes
Add the frozen spinach, cover and cook over a medium low heat, stirring every 5 or 10 minutes, for half an hour or so until the spinach is thawed and the stew and hot throughout.
Firstly, apologies there was no recipe post last week; I was a bit under the weather with a heavy head cold and really couldn’t summon up the energy to photograph and write down a recipe. Well on the way to recover now though, so normal service will be resumed this week.
Now onto the subject of this post – beads! I’ve beaded for quite a few years now and it’s a hobby I really enjoy (unless I’m three quarters of the way through a long project!). The last year however, it’s take a bit of a back seat. I’ve dug my beads out, looked at them, then put them away again. Basically, I’ve been suffering from the scourge of crafters everywhere – lost mojo. I think Mr Mojo is slowing and surely returning, thanks in past to some lovely beads purchased from a good friend of mine, Linda Mabbott at Inside the Fire (more about these in a later post).
So, I thought I’d show you what’s on my bead board this week. It’s been a bit of a work in progress, started about a year ago and sadly neglected, partly because I can’t decide whether to make a long necklace, short necklace with dangles, or a lariat. I love this colour combo, and I’m very proud of the big beaded bead. The lampwork bead came from my stash via a friend’s destash.
I love this colour combo, and I’m very proud of this big beaded bead. The lampwork bead came from my stash via a friend’s destash.
I’m hoping to have it finished within the next week or so, as it has dragged on a bit too long now and I really want to start something new.
This year, spring has been a long time coming, so I decided to use the leftovers from Sunday dinner to make a nice hearty casserole.
With this one, the pork can easily be swapped with venison or beef. If your meat hasn’t been pre-roasted, don’t worry, just cook for an extra 30-45 minutes then add the chestnuts and cook for a further 30 minutes.
If you are using an oven-proof pan, pre-heat your oven to 160 degrees c.
Heat the oil in a large pan or casserole and cook the onions with half a teaspoon of sugar until they start to caramelise.
Add the halved mushrooms and keep cooking until they also start to brown.
Now add the pork, garlic, rosemary, and juniper and give a good stir to combine the ingredients.
Pop the stock cube into the pot, along with the wine and quarter of a cup of water. Stir again.
Add the chestnuts, put the lid on the pot and cook in the oven for half an hour or so.
If you feel you want to add some gravy (I did), do that just before serving.
Serve with mash and green beans (or peas if you forget to pick up some green beans!)
Recipe Notes
Make sure you use chestnuts, not water chestnuts. I once went to a local restaurant where the 'partridge with chestnuts' came with water chestnuts - not a very pleasant culinary experience.
Everyone loves a cottage pie, so I thought I’d give it a nice Mexican twist. The inspiration for the topping came from the wonderful Thomasina Myers, who is a bit of a hero of mine, not least because she won Masterchef. The Mexican street food in her Wahaca restaurants is so, so good. The last time we were in London, we went to the original one near Covent Garden for lunch, which was brilliant. I thoroughly recommend her book Mexican Food Made Simple. There are also Wahaca – Mexican Food at Home and Chilli Notes books, which are on my wishlist.
A couple of the ingredients listed in this recipe are a bit more difficult to source than the ingredients in my previous recipes, but they’re not essential; where a suitable alternative exists, I’ve also given that (or you can leave them out completely). You’ll also notice the cooking time is a bit longer, however the meat and bean mixture can be made in advance. Actually, the pie freezes really well; should you wish to freeze it, I recommend cutting it into individual portion sized pieces, wrapping in cling, then popping in a freezer bag.
Without further ado, I give you Mexican Cottage Pie.
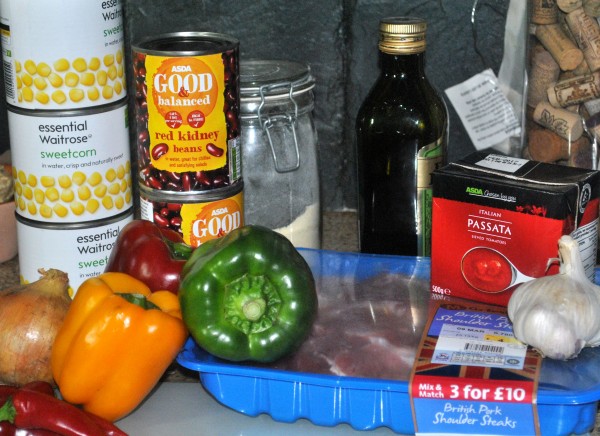
5 or 6red chillies(finely chopped or ground to a paste or 1 tsp chilli powder plus more to taste)
4 clovesgarlic(grated or crushed)
1tspsalt
1tspsugar
1tspground cumin
1tspground coriander
1tspsmoked paprika1
1tbspmole(or square of 80%+ dark chocolate) - optional
splashbalsamic vinegar
1tspdried epazote- optional
1tspdried tarragon
750gramspork shoulder steaks
500mlpassata
1 or 2cansred kidney beans(drained)
Pie Topping
3canssweetcorn(large cans - drained)
3tbspcornmeal(or plain flour - not cornflour)
10gramsbutter
1tspsalt
Servings:
Instructions
If you're using an oven proof pan, preheat your oven to 150 degrees.
Heat the oil over a medium hot heat, add the sliced onions and peppers, salt and sugar, and cook for 10 minutes or so, stirring occasionally. You want the vegetables to be soft and starting to brown.
Add the grated/crushed garlic, cumin, coriander, epazote, tarragon, smoked paprika, and half the chillies.
Add the pork, then stir well to coat the meat and vegetables with the spice mix. Now, add the passata, vinegar, and mole (or chocolate) and stir again. Taste the sauce and add the rest of the chillis if you wish. Put the lid on your pan.
If using an ovenproof dish, transfer to the oven and cook for 90-120 minutes until meat is tender and falling apart. If you are not using an ovenproof dish, cook for the same amount of time on a gentle heat, stirring every now and again to stop the mixture sticking. Add the beans then transfer the filling to a large ovenproof dish.
Adjust the oven temperature to 175 degrees.
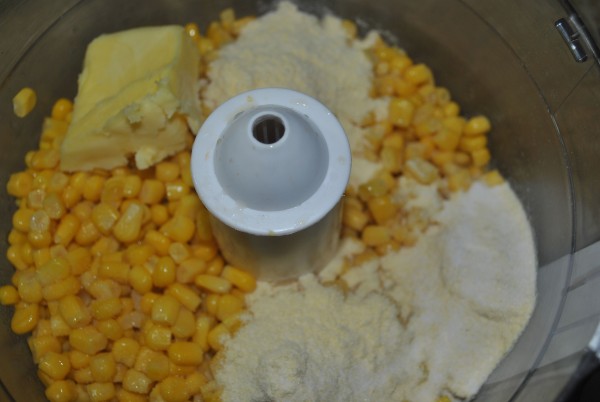
Put the topping ingredients into your food processor and blitz into a very course paste.
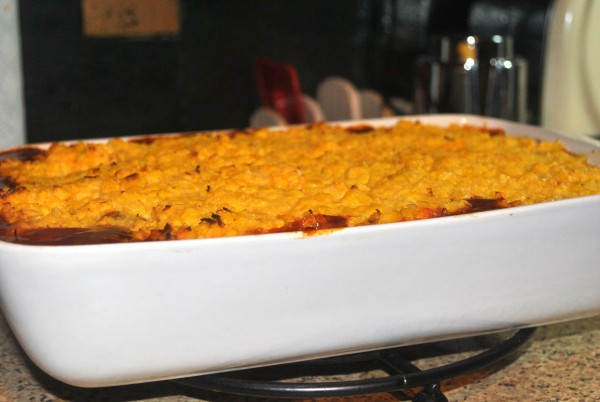
Spread the topping onto your pie filling and bake for 30-40 minutes or so until the pie topping starts to form a crust.
Last month, I kept seeing the most gorgeous crochet afghan showing up on my Instagram feed. After investigating a bit further, I discovered the joys of a crochet along and the beautiful Sophie’s Universe. After crochet like crazy since I returned from Sevilla (travel report still to come), I am finally up to date and eagerly awaiting the next installment’s release on Sunday.
This is a little closeup of my favourite part of Sophie.
We’re now about half way through and I have to say the pattern has been a joy to crochet. Very little repetition and lots of interesting new stitches and features throughout. If you’d like to give it a go, pop over to the designer, Dedri’s site at Look What I Made. The instructions are very clear and well written. If you do decide to give Sophie’s Universe, I’d love to see your colour scheme and progress.
I decided to do this Sophie in Stylecraft DK from my stash. I’ve had to buy a couple of balls when I’ve run out of a colour I’ve wanted to use again, but it has been great stash-buster so far.
Oh, and did I mention I’ve already started another one in a more subdued colour scheme, as my original is earmarked for my niece as a starting school gift. I’ll miss Sophie #1 so much when she goes though!
Today’s recipe is one of those ones that brings back happy memories. in the long-distant days of my late teens/early 20s, when I didn’t cook as much and the variety of available ingredients wasn’t great, this was my go-to dish in the local Indian restaurant, possibly because it contains one of my all time favourite flavours – tamarind. Tamarind paste is pretty easily available in most supermarkets, but if you’re struggling to get it, don’t worry, you can add a tablespoon of balsamic vinegar instead.
I’d love to hear from you if you try my this recipe out or have any questions about it.
1pieceginger (around the same size as the garlic)(grated)
2onions(blitzed to a pulp in the processer or grated)
1tspsalt
4chillies(crushed or 1- 2 tsp chilli powder)
0.5tspturmeric
1tspground cumin
1tspground coriander
1tsptandoori masala(optional)
600gramschicken thigh or breast fillets(cut into chunks)
1.5 - 2tinschopped tomatoes or passata
0.25cupwhite wine or cider vinegar
1 - 2tsptamarind paste
2tspjaggery or brown sugar
2bay leaves
chilli powder(to taste)
To serve:
Rice, cauliflower rice, chapattis, paratha or naan
chopped coriander
lime wedges
Servings:
Instructions
Heat the oil in a large pan, saute the garlic and ginger for a minute, then add the onion and salt. Saute for a further 10 minutes.
Add the chillies, turmeric, ground cumin, ground coriander, and tandoori masala. Stir to combine into a paste.
Add the chicken and stir for a few minutes until it becomes coated with the paste and starts to cook (don't worry if it's not cooked through at this stage, as the chunks will cook whilst the sauce is simmering later).
Add the tomatoes, vinegar, tamarind paste, jaggery/sugar and bay leaves and simmer for 20 - 30 minutes, until the sauce starts to thicken and reduce. After about 10 minutes, taste the sauce and add extra chilli powder if you feel it needs more of a kick.
Serve over rice or with flatbreads. Garnish with chopped coriander and lime wedges.
Recipe Notes
If you don't have jaggery or brown sugar, don't worry - normal granulated sugar will do.
Feel free to make this one in advance - if anything it taste even better the next day.
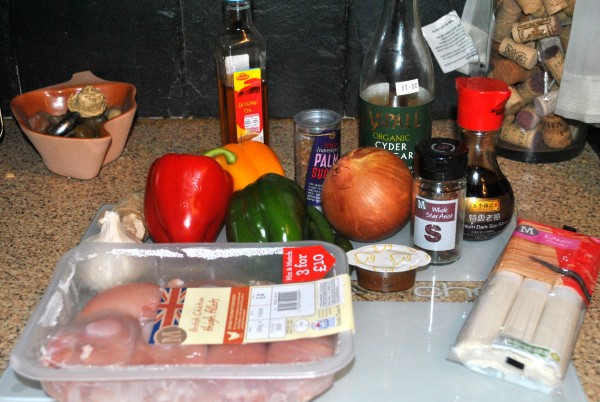
As it still feels like spring is a long way off, I decided another winter warmer was in order for the recipe this week. This one is heading to the East for influence, but uses ingredients which you can easily find in your local supermarket. There is also the added bonus that it’s all cooked in one pan, so there’s less washing up to do.
600gramschicken breast or thigh fillets(cut into strips)
2clovesgarlic(crushed)
1piecefresh ginger (approx 8x2cm)(grated or pureed)
1tbspsesame or vegetable oil
3peppers(sliced)
1onion(sliced)
4green chillies(sliced)
1chicken stockpot or cube
2tsppalm sugar(or granulated sugar)
1/4cupwhite wine or cider vinegar
2wholestar anise
1tbspdark soy sauce
sriracha or other hot sauce(optional)
To serve
chopped corriander
sesame seeds
Servings:
Instructions
Bring a wok (or large pan) of slightly salted water to the boil. Once boiling cook the noodles per the packet instructions, drain, rinse with cold water and set aside for later. Whilst the noodles are cooking, cut the chicken into strips and the veg into thin slices.
Rinse the wok, allow to dry on the stove. Once dry, heat the oil and stir fry the chicken for 5 minutes. Add the ginger and garlic and stir until the chicken is coated.
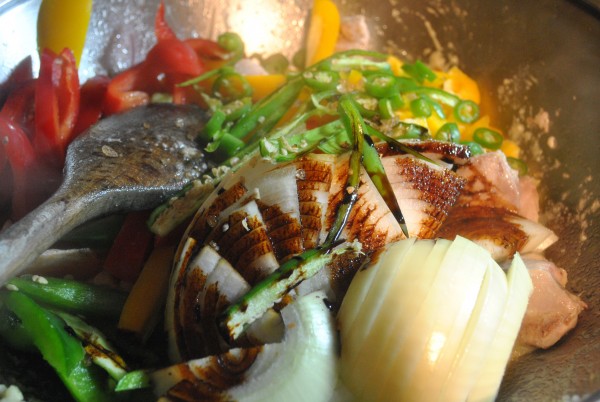
Add the veg and other ingredients (with the exception of the sriracha), along with 100ml of water. Stir to combine and simmer very gently for 10 minutes.
Taste the sauce and add some sriracha if you want a bit more heat.
Remove the star anise.
Add the noodles you cooked earlier, stir together and simmer gently for a further 3-5 minutes.
{Don't panic if it looks like mine has reduced drastically. I put half the meat, veg and sauce mix into a bowl, as I was only cooking for 2).
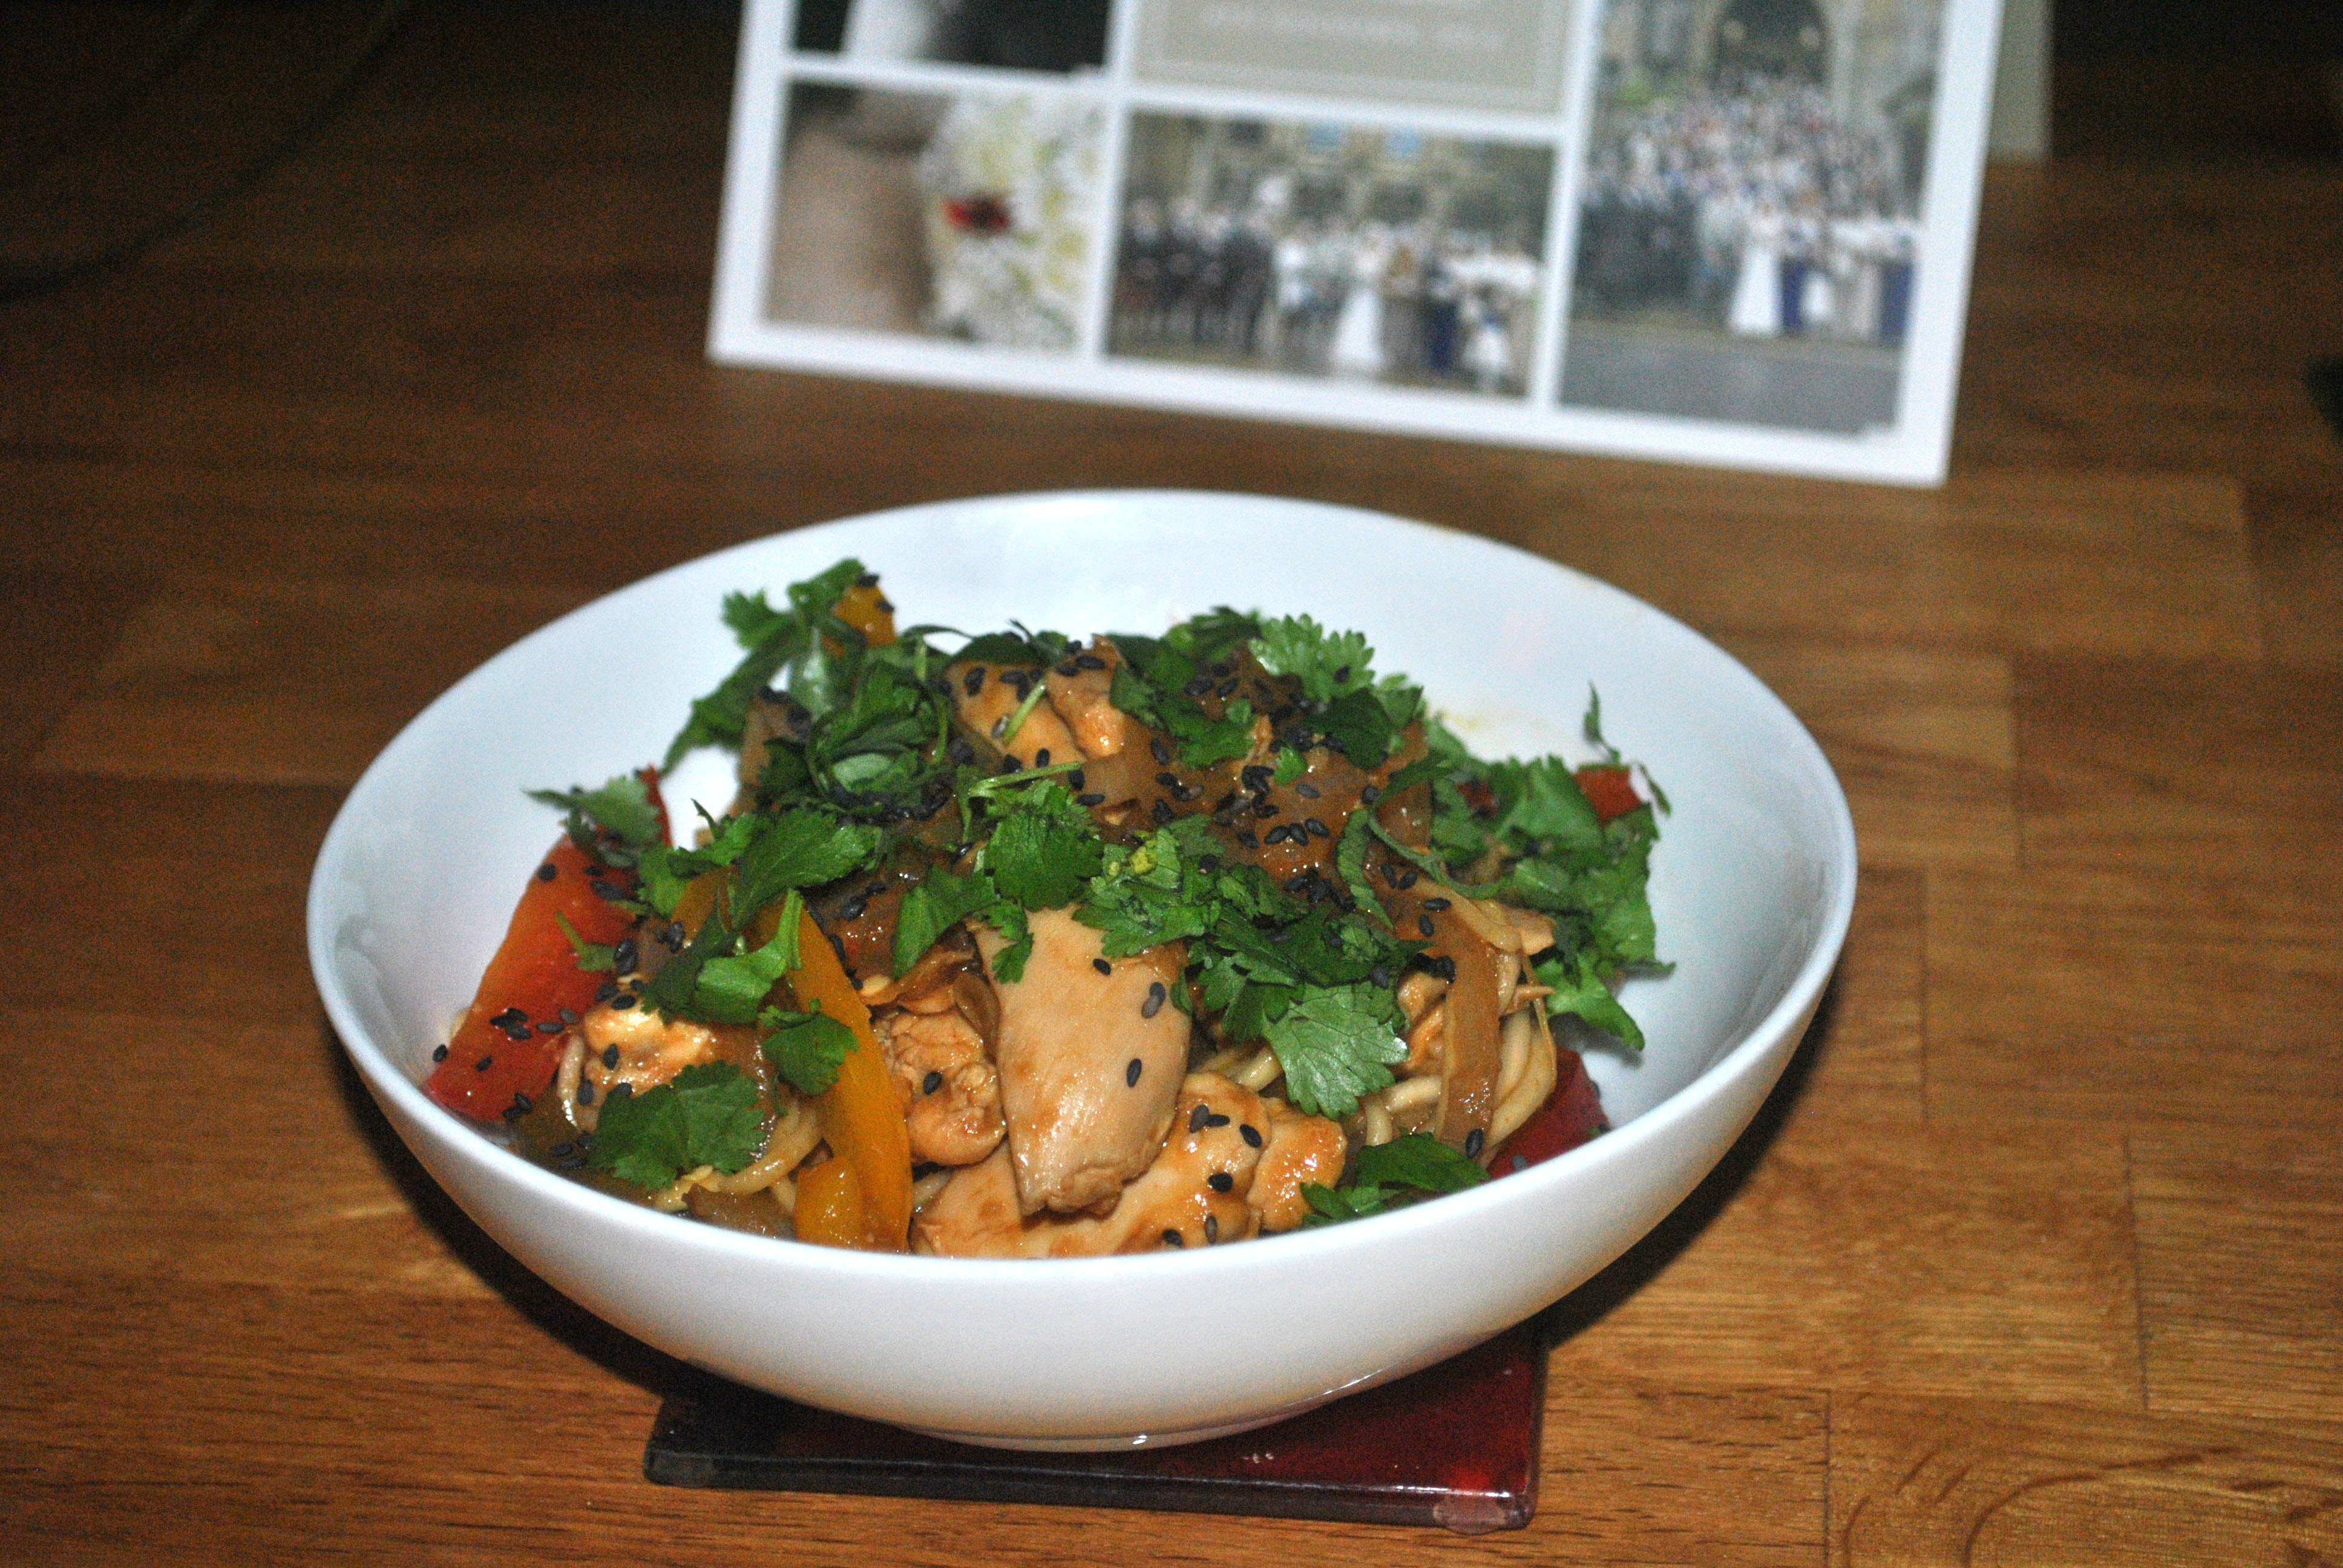
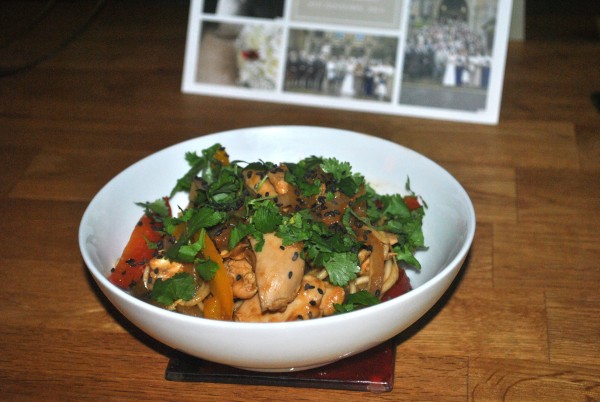
Serve in bowls, garnished with roughly chopped coriander and sesame seeds.
Recipe Notes
If you have one, a wok is perfect for cooking this dish.
If you don't have fresh ginger, use 1tsp of lazy or ground ginger.
I kept seeing Sophie’s Universes popping up in my Instagram feed and was really taken by how pretty they looked. It’s been a wee while since I’ve had a crochet project on the go (with the exception of the Granny Square a Day – hahaha -blankets I’m (not) doing).
I decided to use Stylecraft Special DK from my stash. It’s cheap, but doesn’t feel it, works up really well, comes in a great range of colours, and is easy to get a hold of. I’ve now got the first 4 sections completed, and have decided I’m going to give the finished one to my niece when she starts school in August. Because I love the design so much, I also got some Stylecraft Chunky to make another one for me.
I’m really enjoying the crochet along – it keeps me focused without allowing to go hell for leather and get sick of it quickly. I’m still a behind, but once I get caught up, I’ll start me new one and try to work the 2 consecutively.
Here’s Sophie Parts 1-4:
Oodles of Obliciousness – Sophie’s Universe (parts 1-4)
I’m being very good and sewing in my ends after each part, having learned my lesson from the first crochet blanket I did, where I spent as much time sewing the ends and bits together as I did crocheting, and almost lost the will to live in the process.
If you fancy having a go at Sophie’s Universe, you can find all the details over at the Look What I Made blog. Don’t be put off by how complicated it looks, as long as you can do a basic crochet stitch and follow a pattern, you’ll be fine. The instructions are really clear and easy to understand.
A taste of Mexico tonight – a healthy version of huevos rancheros. Huevos Rancheros is one of my favourite quick meals. Traditionally eaten for breakfast, it’s one of those ones I could eat any time of the day, and one of my go-tos when I’m late getting home. Sadly the fried corn tortilla in the traditional version makes it something which isn’t particularly healthy to eat regularly. Whilst I still enjoy the real thing as an occasional brunch, I can eat this version whenever I want without any guilt pangs; if anything it makes me feel positively virtuous.
Healthy Huevos Rancheros
Print Recipe
A healthy version of a traditional Mexican breakfast
1tspchilli flakes(or half a teaspoon chilli powder)
dashbalsamic vinegar
2eggs
1avocado(sliced)
grated cheese
Servings: as a main meal (2 as breakfast)
Instructions
Add the oil to a large frying pan or wok and warm over a medium heat. Once warm, add the garlic and saute until you can smell it (about 30 seconds).
Add the chopped tomatoes, chilli, vinegar and a pinch of salt and cook over a medium heat for 10 minutes or so until the tomatoes start to go into a thick sauce. have a quick taste to make sure you have enough chilli for your tastes.
Whilst the sauce is cooking, poach your eggs
Just before serving, stir the tarragon through the tomato sauce
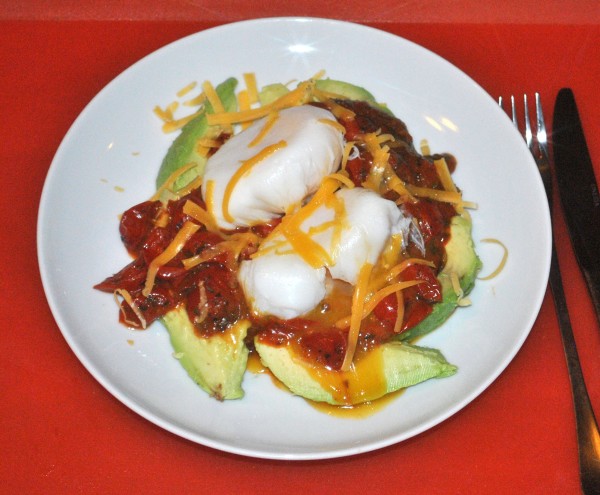
Arrange the sliced avocado on a plate, top with the sauce and the poached eggs. Grate a little cheese over the top and enjoy.
Recipe Notes
I prefer baby tomatoes as they're quick to chop (i just half them) and I like the taste, but you can use any type, or even chopped, tinned ones.
I find my wok is ideal for making the tomato sauce.
The traditional version of huevos rancheros has fried eggs, as well as a fried tortilla - feel free to use them in this version instead of poached should you wish.
Normally I like to offer alternatives for herbs and spices, but in this case only tarragon will do. Luckily it's readily available - I always keep a jar in my spice cupboard.
As always, I'd love to know how you get on if you give this recipe a try.